Task Assignment
Assign any Task to a team member or an AI agent directly from the Task list or Task detail page.
Overview
Task assignment connects a piece of work to the person or agent responsible for delivering it. Assignments are visible throughout the Task list and inside the Task detail page, making it clear at a glance who owns what. Any team member with access to the Brief can assign or reassign a Task at any time. If your workspace has an AI coding agent configured and connected to a code repository, you can also assign Tasks to that agent to have it work on the implementation automatically.

How It Works
-
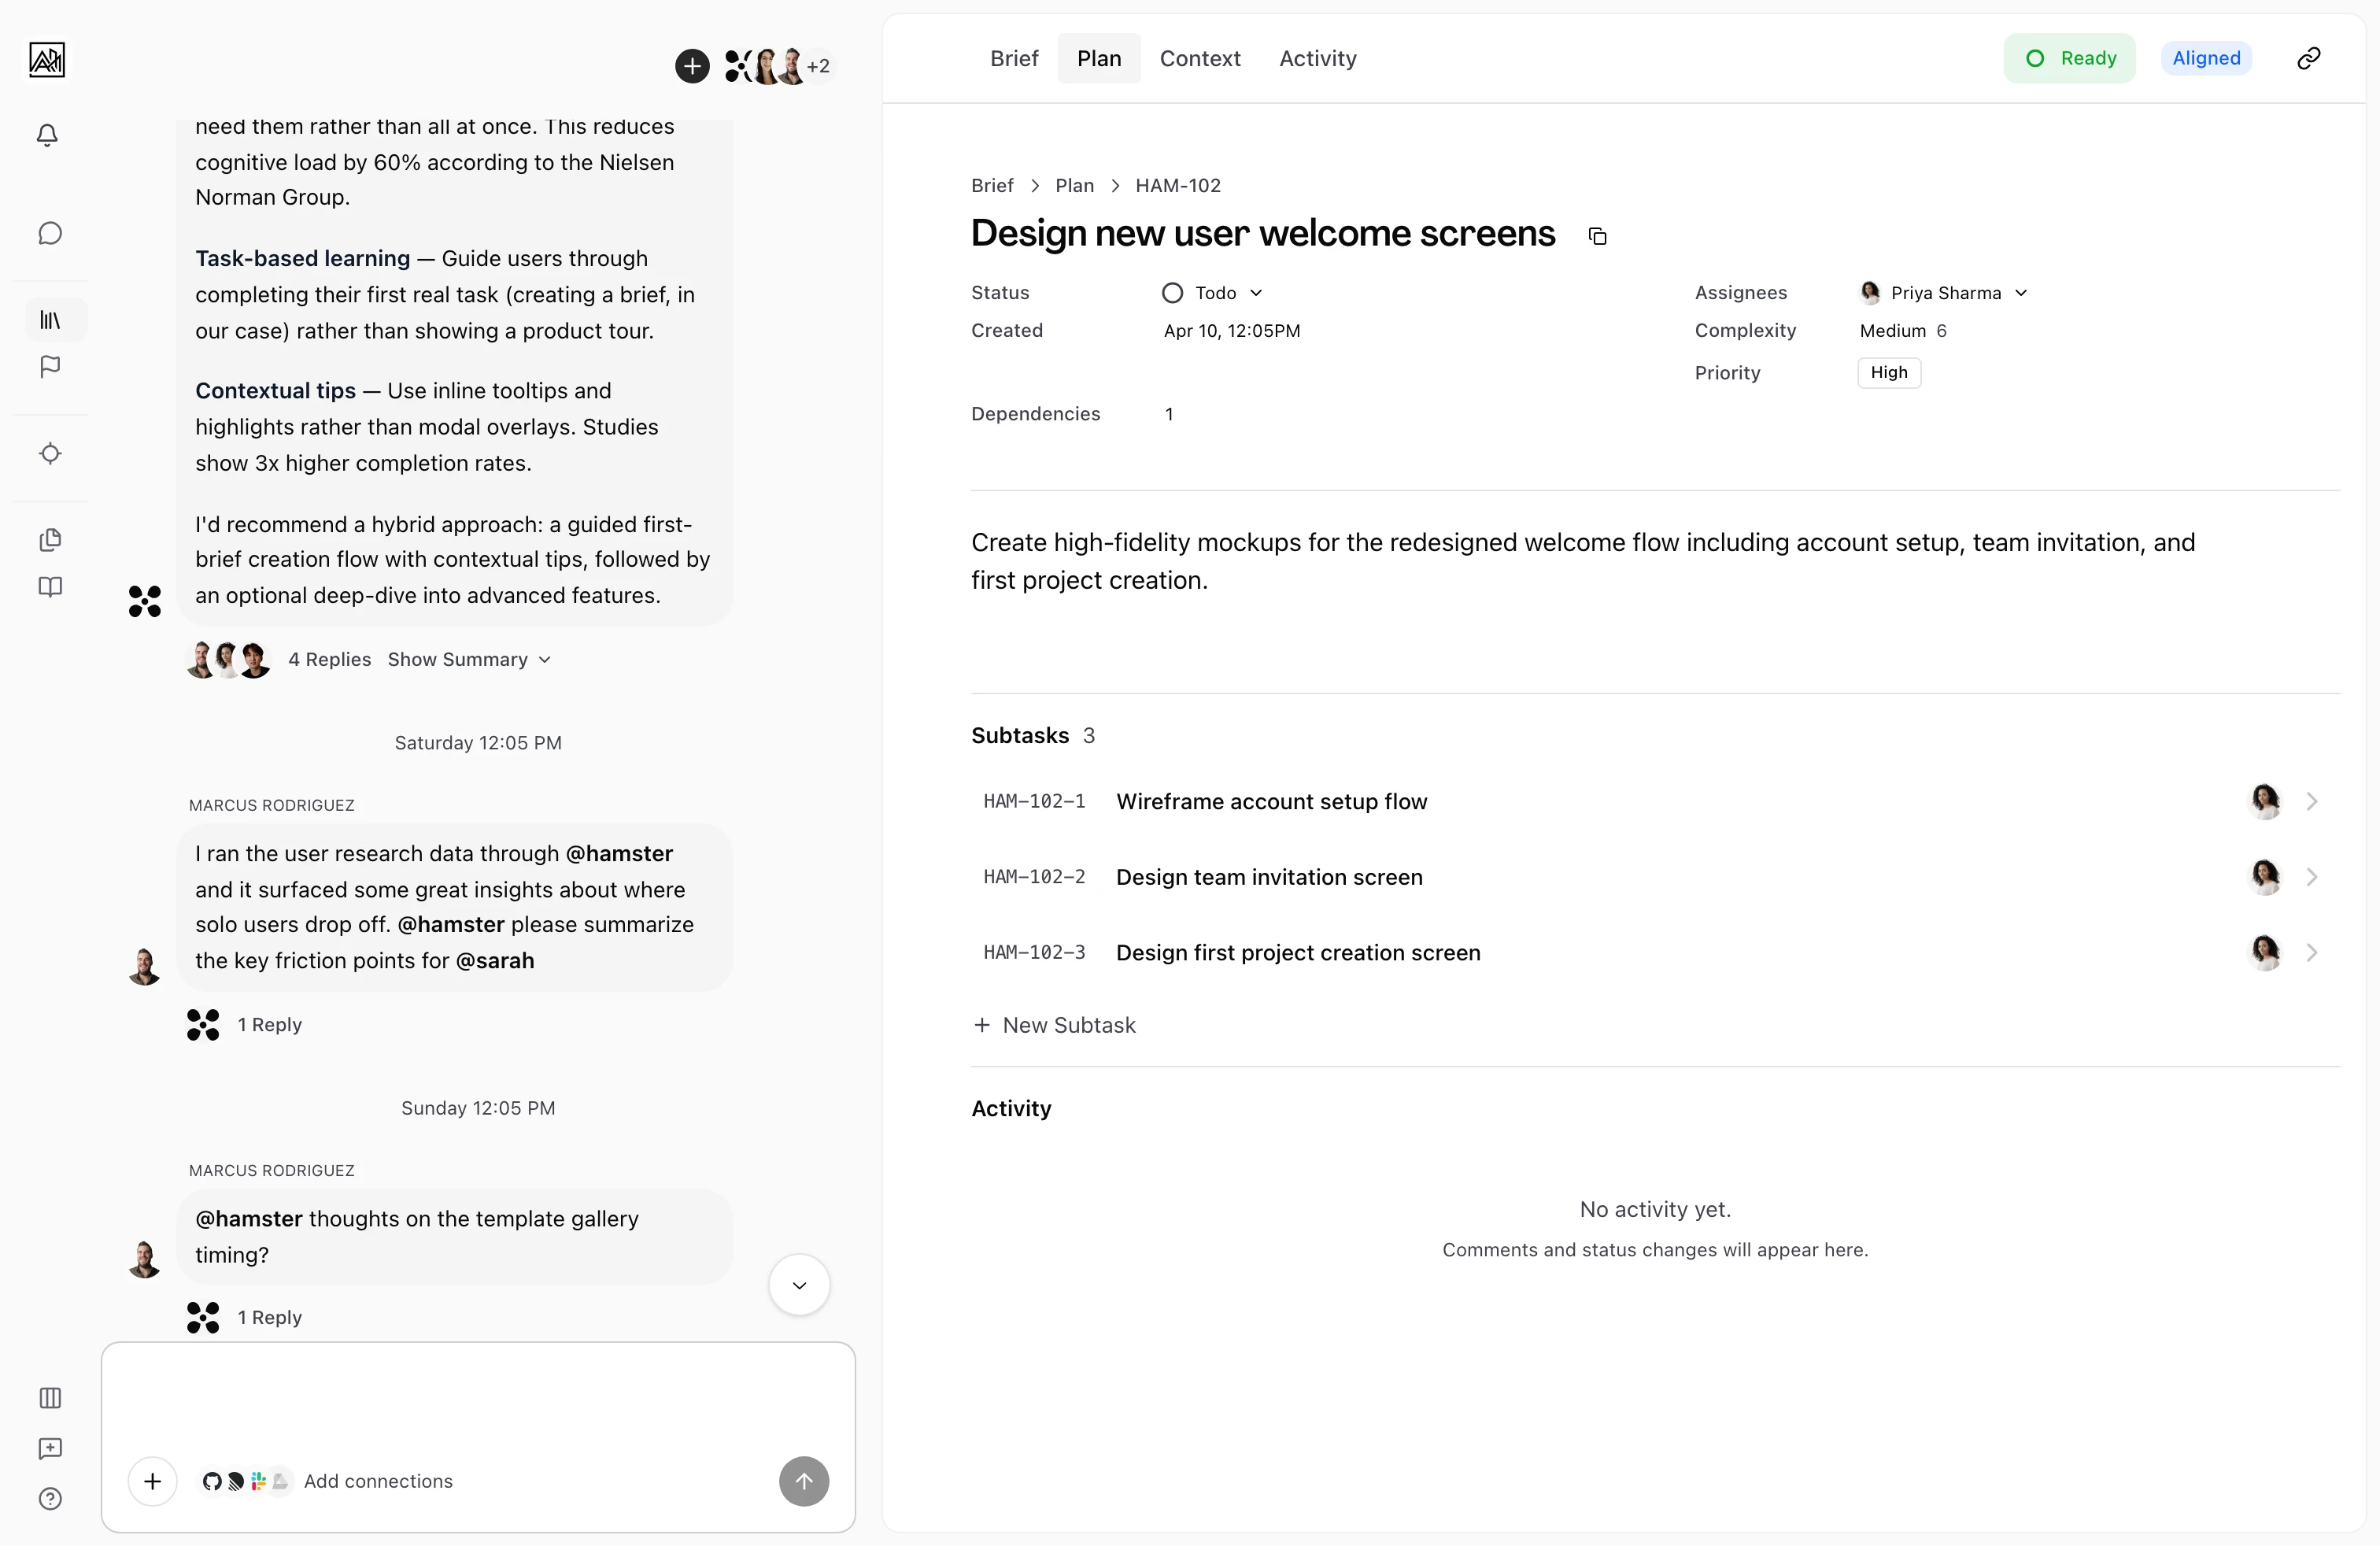
Find the Task — Navigate to the Plan tab of the brief. Each Task row shows an assignee avatar on the right side. A grey placeholder means the Task is unassigned.
-
Open the assignee picker — Click the avatar or the chevron beside it. A dropdown appears showing "Agents" (if configured) and "Team Members". The current assignee is marked with a "Current" badge.
-
Select an assignee — Click any name. The assignment saves immediately and the avatar on the Task row updates. Select "Unassigned" at the top to remove the assignment.
-
Assign from the Task detail page — Open the Task and click the Assignee field in the metadata grid. The same picker appears and saves the same way.
Assigning to a Team Member
Team members appear under "Team Members" in the picker. Selecting one saves the assignment immediately — the member's name and avatar appear on the Task row, giving the rest of the team visibility into ownership. You can assign to yourself or to any other team member. There is no approval step.
Assigning to an AI Agent
If your workspace has a coding agent configured, an "Agents" section appears at the top of the picker. Agents are only available for top-level Tasks — the section does not appear when working with a subtask.
When you assign a Task to an agent:
- A Delivery dialog opens where you confirm the repository, branch, and any additional context.
- The Task status moves to "In Progress".
- The agent starts working on the Task in the connected code repository.
- The Task detail page shows a status strip with the run status and a progress percentage.
- When the agent finishes, a link to the pull request appears in the status strip.
You can also use the Delivery button on the Task detail page to launch with your saved preferences in one click. Delivery preferences (which agent to use, default branch) are saved at the account level so you don't need to configure them each time.
Unassigning a Task
Open the assignee picker and select "Unassigned" at the top. Unassigning a Task that was previously assigned to an agent does not cancel any in-progress agent run — agent runs continue independently once started.
Key Capabilities
- Assign from list or detail view: Both surfaces use the same picker and save immediately.
- Visual ownership in the Task list: Task rows show the assignee's avatar. Unassigned Tasks show a placeholder for easy scanning.
- Agent assignment: Assigning to an AI agent triggers automated work on the Task in the connected code repository.
- Agent run visibility: The Task detail page shows a live status strip for any agent working on the Task, with a link to the pull request.
- Subtask assignment: Subtasks can be assigned to team members using the same picker, minus the Agents section.
Tips
- Assign Tasks as soon as the Plan is generated. Even a tentative assignment helps the team understand who is expected to pick up each item.
- If a Task is blocked or handed off, reassign it at any point — no history or notes are lost.
- Agents require a code repository Connection before assignment triggers automated work. See Connections Overview for setup instructions.