Context Documents
Give the AI everything it needs to understand your project by attaching supporting files and URLs to your brief.
Overview
Context documents are files and web pages you attach to a Brief to give the AI assistant richer background information. When you upload a specification, a research report, a design document, or any other supporting material, Hamster processes the content and connects it into your workspace Context Graph.
That means Hamster can use this context across chat, document generation, and Plan generation while traversing related Briefs, Initiatives, Tasks, and connected tools to pull in relevant supporting information.
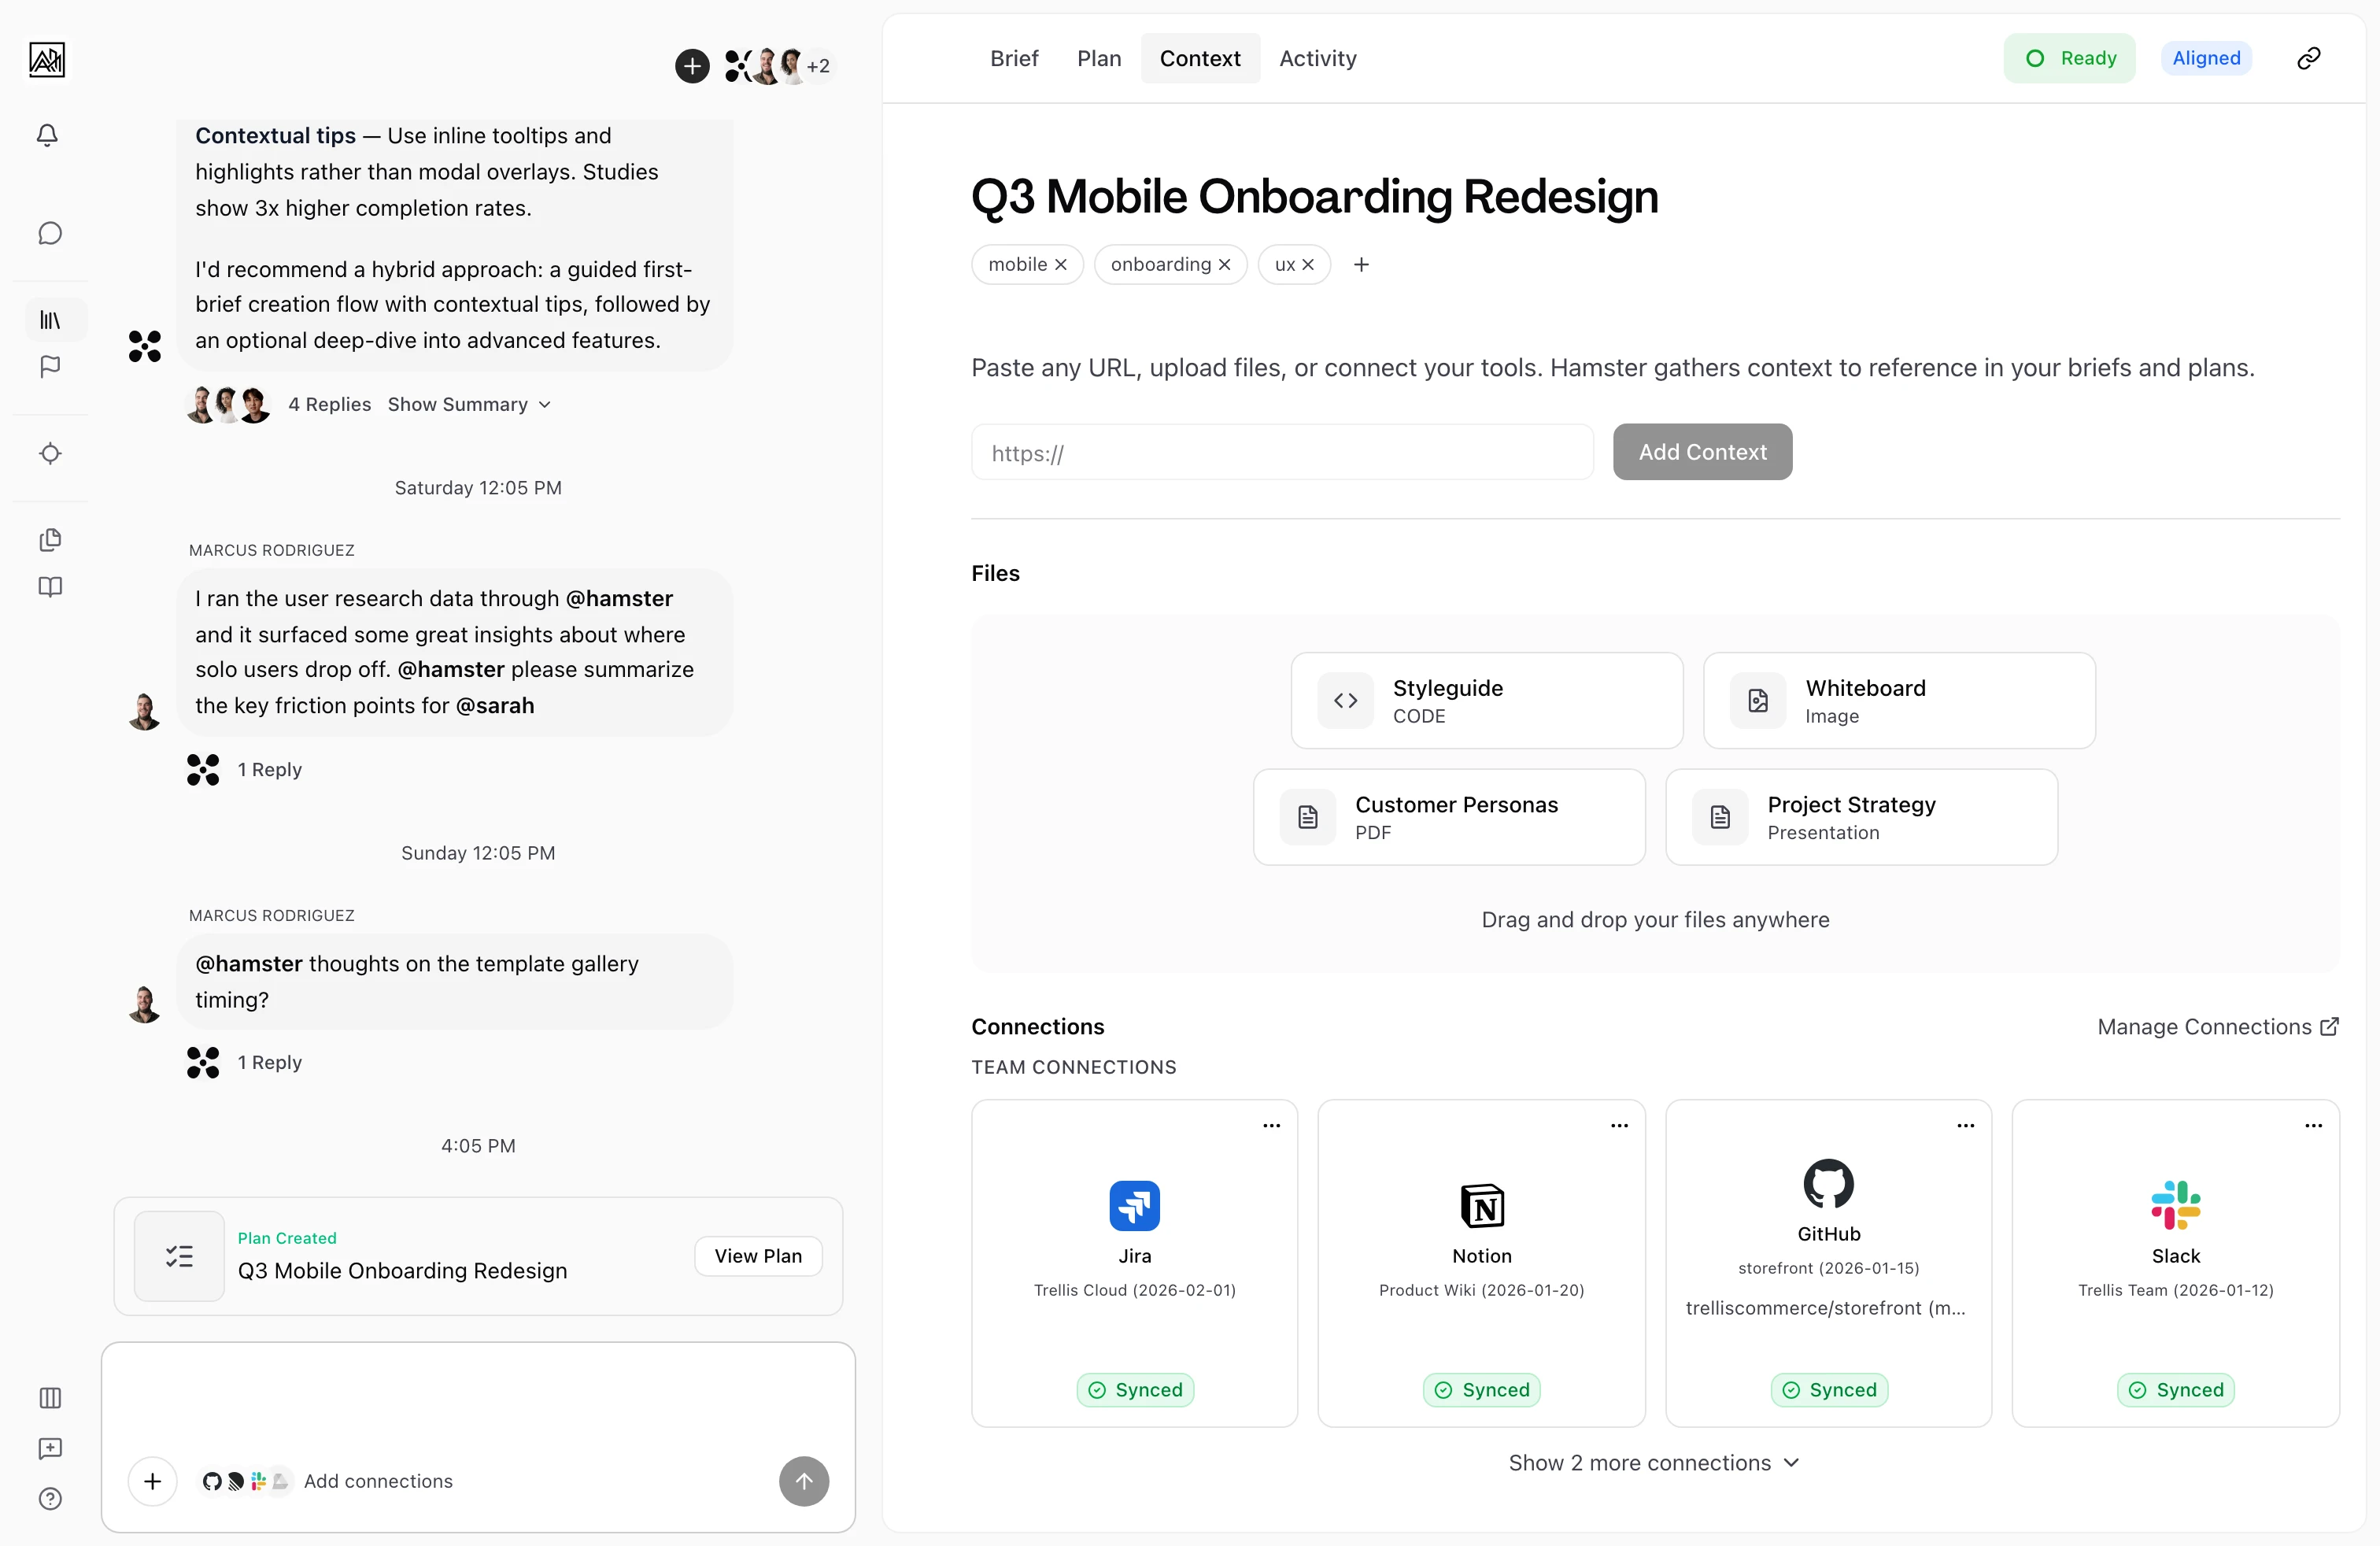
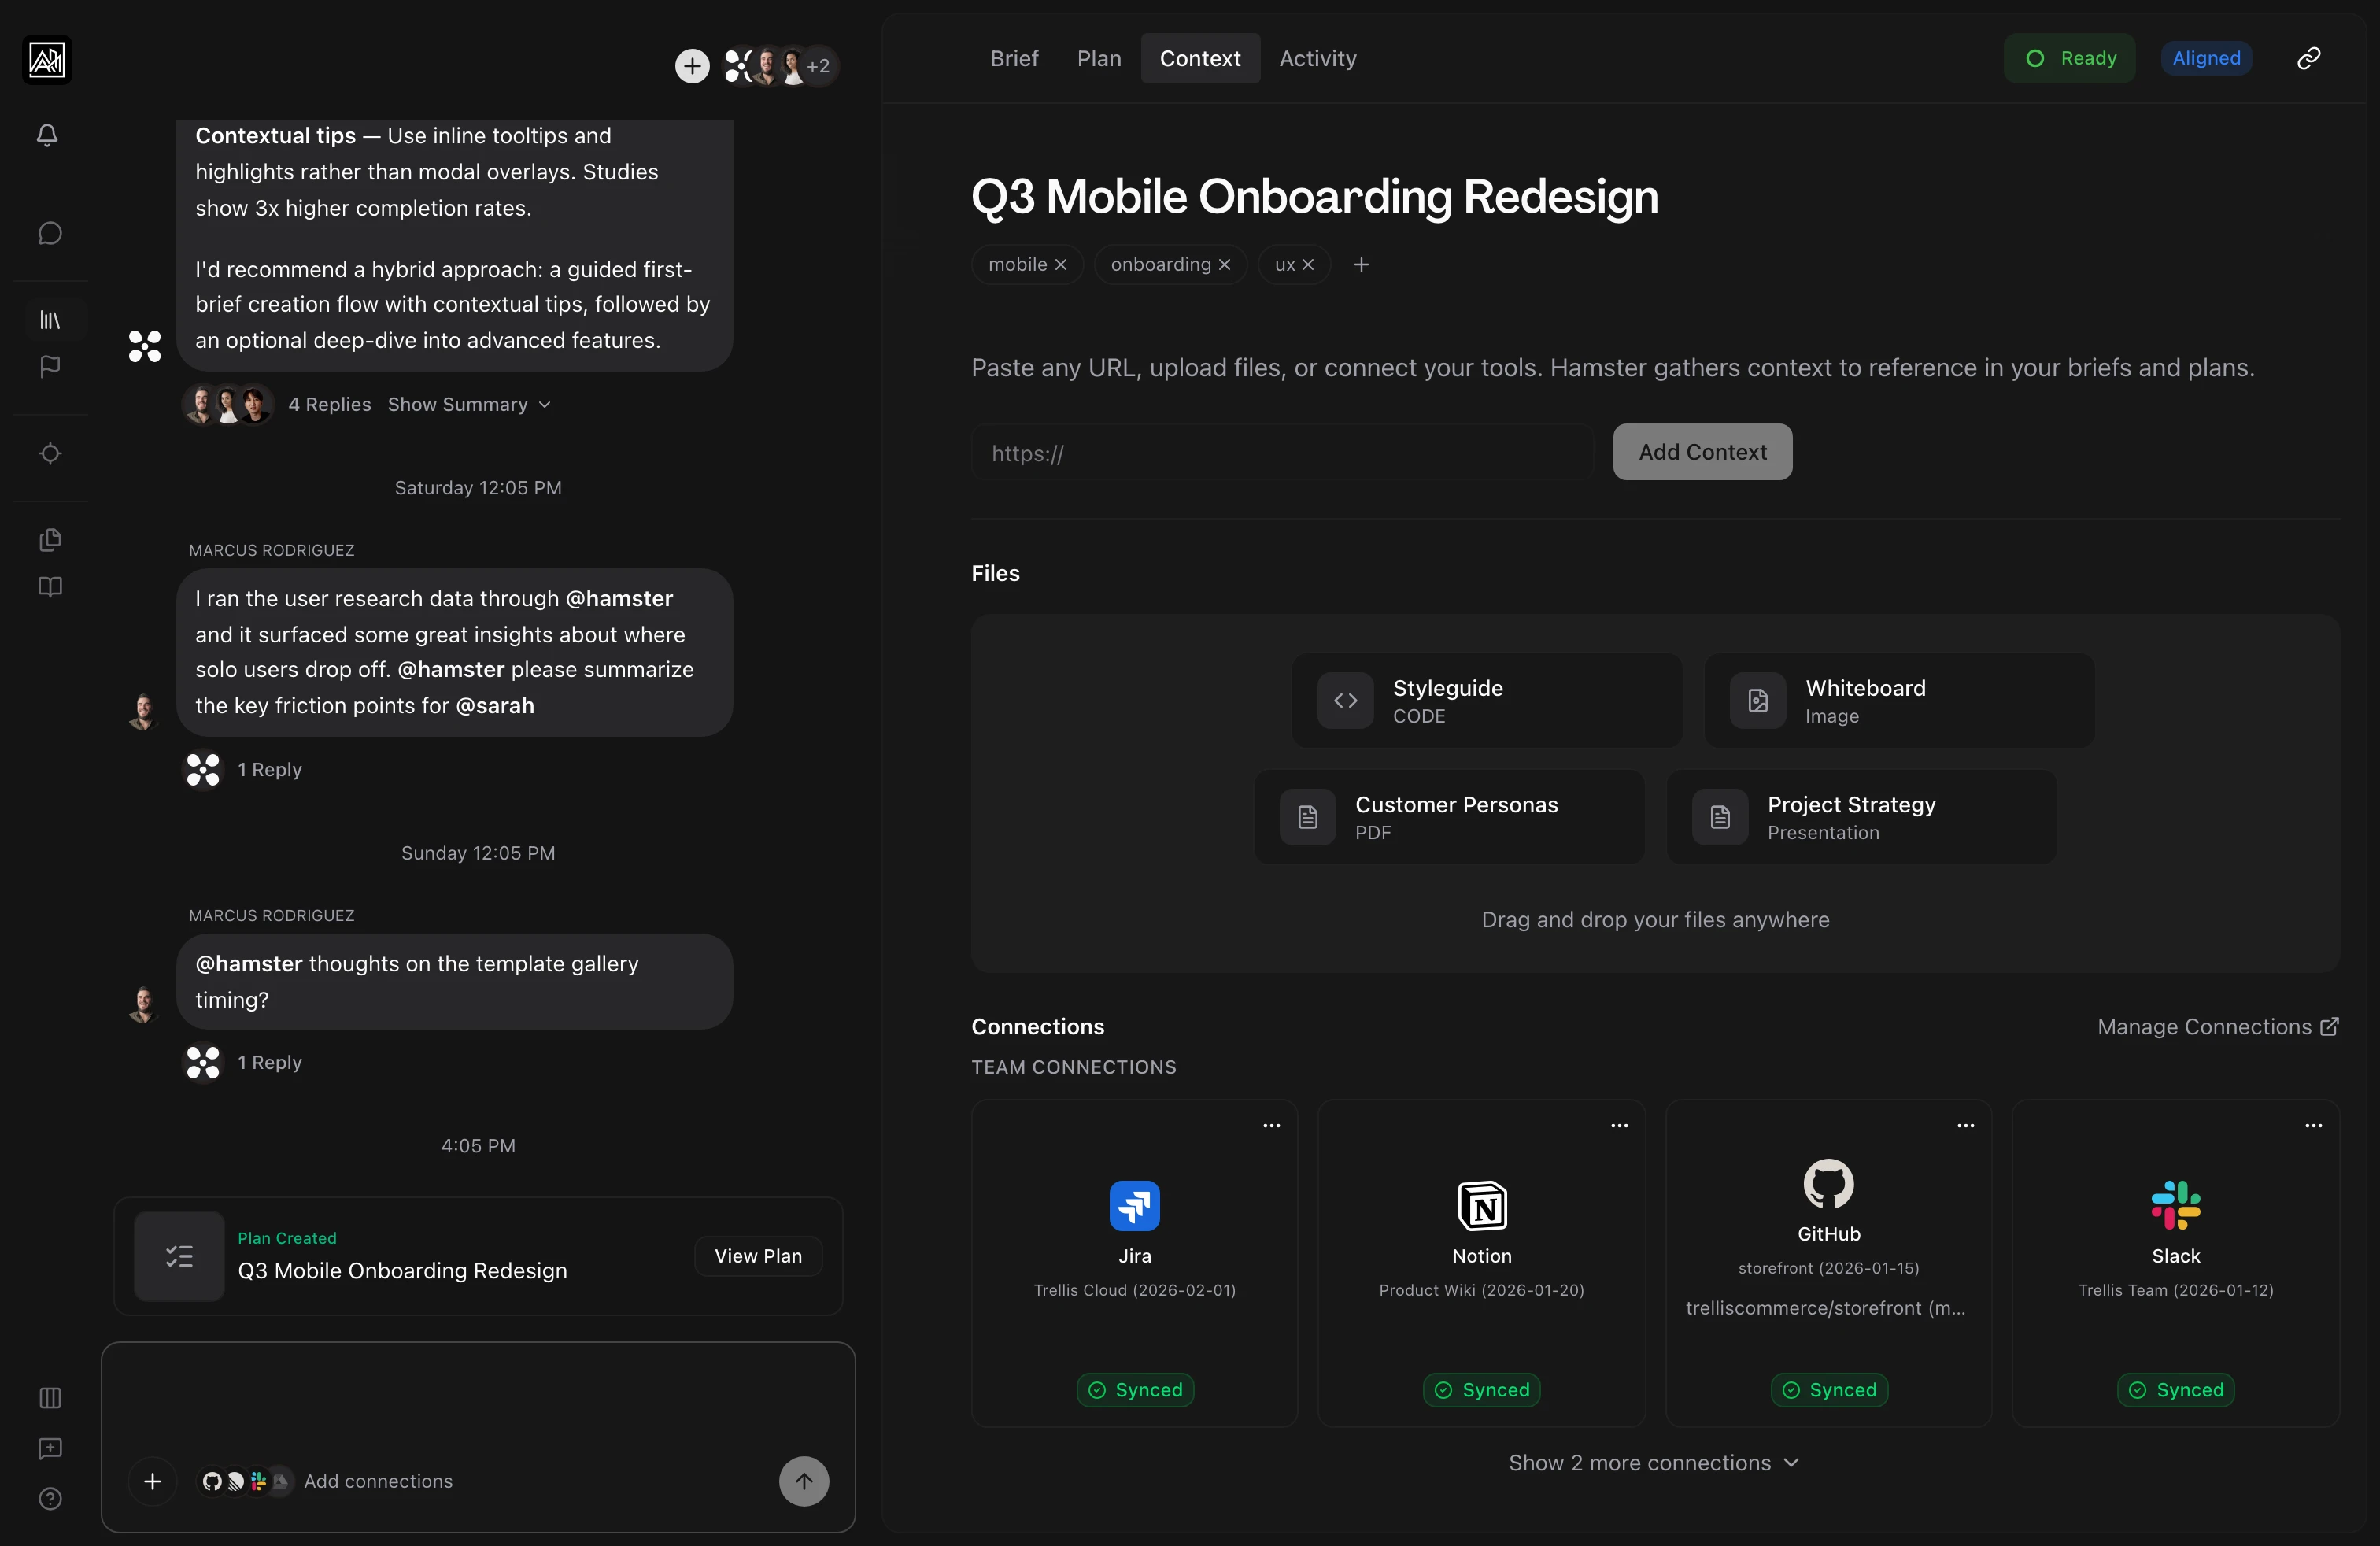
Context documents are managed from the Context tab inside any open brief.
How It Works
Uploading Files
-
Open the Context tab — Inside any Brief, click the Context tab in the document panel.
-
Upload your files — Drag and drop files directly onto the upload area, or click "Browse Files" to pick them from your file system. You can upload multiple files at once.
-
Wait for processing — Each uploaded file is processed automatically: uploading, reading the content, analyzing it, and making it available to Hamster. A status indicator on each document card shows where it is in this process.
-
Files are ready — Once processing reaches the "ready" state, the document is fully indexed and available to the AI when you chat or generate a plan.
-
Remove a file — Click the three-dot menu on a document card and select "Remove" to delete it from the Brief's context.
Adding URLs
You can also add web pages as context. Paste a URL into the Brief's chat (the AI will handle extraction) and the page content is saved as a URL document, visible in the "Saved URLs" section of the Context tab.
Saved URLs show the page title, domain, a short description, the date added, and word count. You can open the original page in a new tab or delete the URL document from the three-dot menu.
If a URL goes stale or the source page has changed, use Re-sync from the URL document menu to refresh the indexed content.
Team Connections
The Context tab also shows your team's active Connections to external services (such as GitHub, Linear, Notion, Google Drive, and others). These Connections make data from those tools available to the AI across all briefs. You can manage Connections from the Context Settings page, linked directly from the Context tab.
Every active Connection in the Context tab is indexed and queryable, so the AI draws on your GitHub, Linear, Notion, and Google Drive as live context rather than something you paste in by hand.
Scroll the Context tab and it reveals every source attached to the brief, ending on the connection tiles for plugging in more.
Supported File Types
Hamster accepts a wide range of file formats:
| Category | Formats |
|---|---|
| Documents | PDF (up to 50MB), Word (.doc, .docx, up to 25MB), plain text (.txt, up to 10MB), Markdown (.md, up to 10MB) |
| Spreadsheets | Excel (.xlsx, up to 25MB), CSV (up to 25MB) |
| Presentations | PowerPoint (.pptx, up to 50MB) |
| Design files | Figma (.fig) — thumbnail, structure, and design details extracted |
| Images | JPEG, PNG, GIF, WebP, SVG (up to 20MB) — OCR enabled |
| Code | JavaScript, TypeScript, Python, Java, C++ (up to 5MB) |
| Data formats | JSON (up to 5MB), XML, YAML |
| Audio | MP3, WAV, MP4 audio (up to 100MB) — transcription enabled |
| Video | MP4, AVI, MOV (up to 500MB) — transcription enabled |
Key Capabilities
- Multi-file upload: Select or drag multiple files at once. Each processes independently.
- Processing status: Each document shows a live status indicator so you know when it's ready for Hamster to use.
- Content preview: Document cards show a truncated preview of the extracted text content so you can confirm the right information was captured.
- OCR for images: Images are processed with optical character recognition, extracting any text they contain.
- AI image descriptions: When you upload an image, Hamster generates a plain-language description of what the image shows. This description is used everywhere — the chat assistant, Plan generation, and search — so the content of the image contributes to context. Hover over an uploaded image in the Context tab to see its generated description.
- Figma file support: Upload
.figfiles directly. Hamster extracts a visual thumbnail, structure (page names, component hierarchy), and design details from the file. The thumbnail appears on the document card; the extracted content feeds into Hamster's context for Briefs and plans. - Audio and video transcription: Audio and video files are transcribed automatically, making spoken content searchable and available to Hamster.
- URL documents with re-sync: Web pages saved through the chat appear as cards in the Saved URLs section with title, domain, description, and word count. Re-sync any URL from its menu to refresh stale content.
- Team Connections: Shared integrations with external tools appear in the Context tab and contribute to the AI's Knowledge for all Briefs in your workspace.
- Graph-connected retrieval: Uploaded context is not treated as isolated files. Hamster can traverse related entities in your workspace graph to pull the most relevant context for your current question or request.
Tips
- Attach context documents before generating a plan. The Plan generator draws on all indexed context for the Brief, producing more detailed and accurate Tasks when it has supporting material.
- Use the Context tab to attach the source-of-truth documents for a project: the existing product spec, the relevant research, or the design brief. This way the AI can reference them directly without you having to paste excerpts into the chat.
- For large PDFs, processing may take a minute. You will see the status update in real time on the document card.
- If a document fails processing, the card shows a red error indicator. Try re-uploading the file or check that it is not password-protected.
- Your team's Connections to external tools (set up in Connection Settings) are visible at the top of the Context tab. These are shared across all Briefs — you do not need to re-attach the same Connection for each project.