Team Profile
Update your team's name, logo, and other workspace-level details from one central settings page.
Overview
The Team Profile page is where you manage the identity and settings of your team workspace. From here you can rename the team, upload or replace a logo, and perform sensitive operations like deleting the workspace. Access to this page is restricted to owners.

Accessing the Team Profile
Navigate to your team workspace and select Profile or Settings in the sidebar. The exact label depends on your workspace navigation configuration, but the page is always under your team's section — not your personal account settings.
What You Can Change
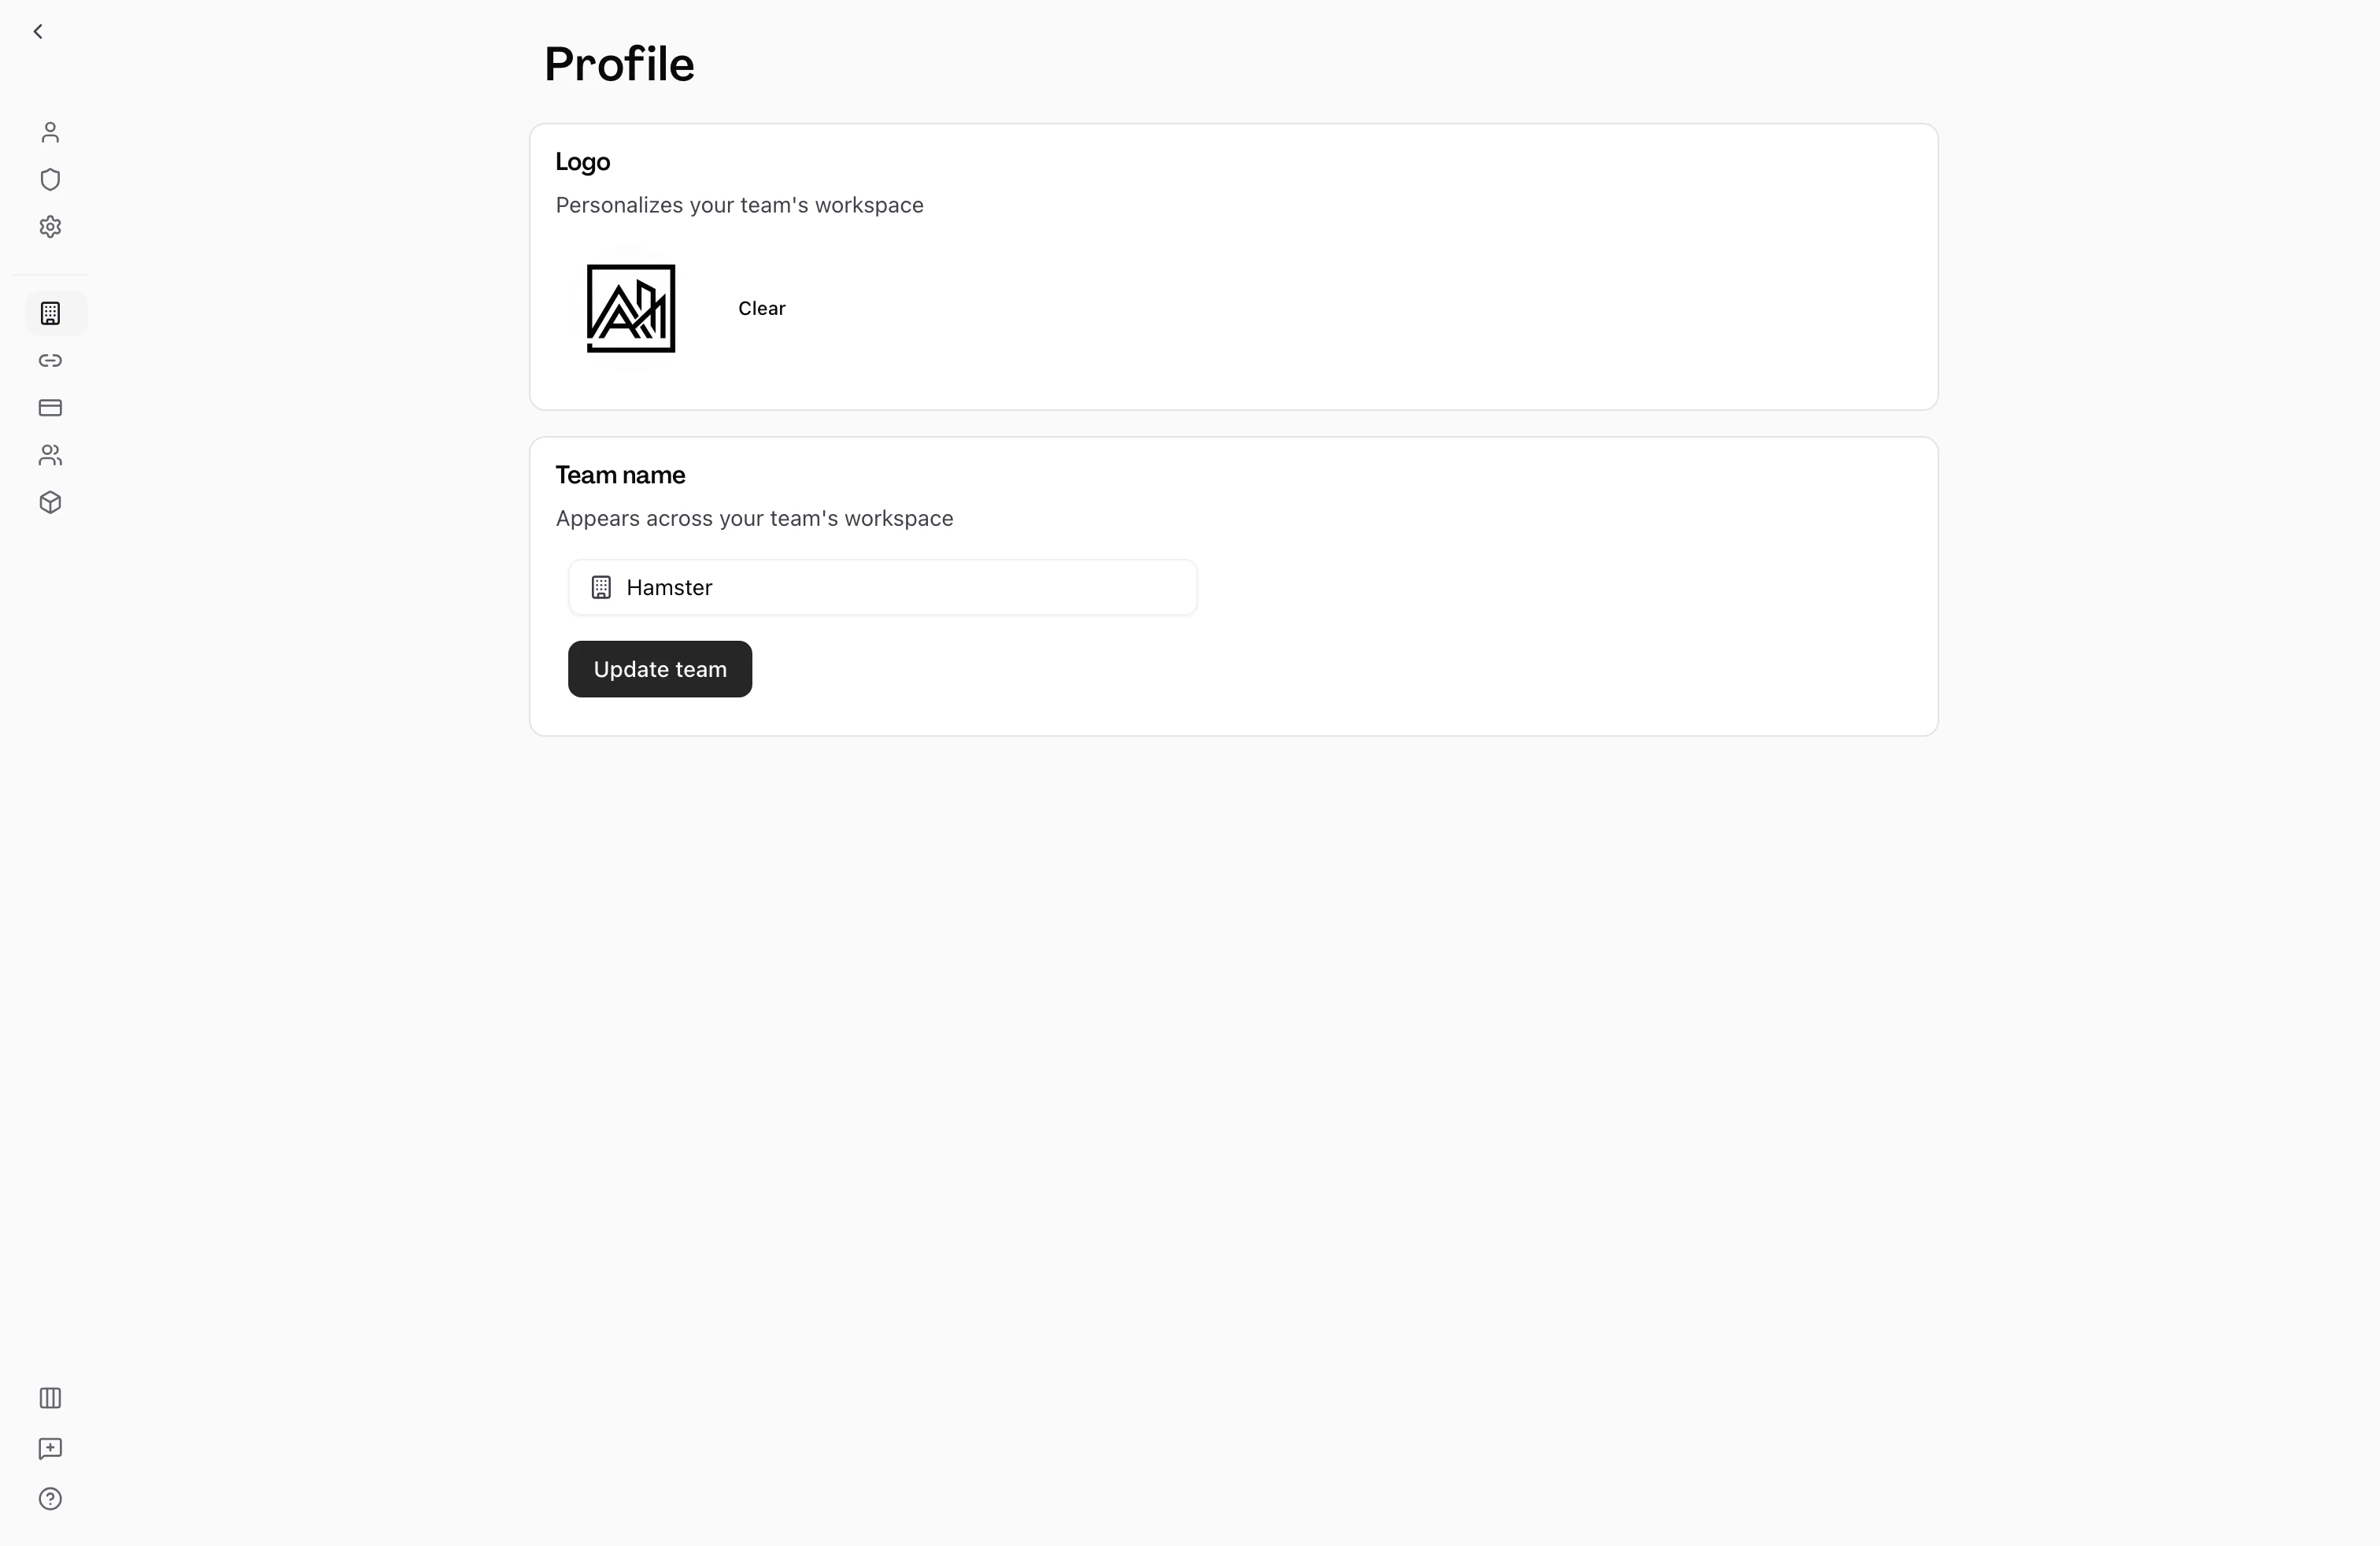
Team Name
You can update the display name of your team at any time. The name appears throughout the workspace: in the sidebar, on the members page, in invitation emails, and on the invitation acceptance page.
Constraints on team names:
- Minimum 2 characters, maximum 50 characters
- No special characters (
!,@,#,$,%,^,&,*,+,=, brackets, braces, quotes, or similar) - A small set of reserved words cannot be used (for example, "settings")
To update the name:
- Go to the Team Profile page.
- Clear the current name from the text field and type the new name.
- Select the save button.
The change takes effect immediately across the workspace.
Team Logo
The team logo appears as an avatar in the workspace sidebar and on invitation acceptance pages. It helps members identify the workspace at a glance, especially when someone belongs to multiple teams.
To upload a logo:
- Go to the Team Profile page.
- Select the image upload area in the Team Logo section.
- Choose an image file from your device.
The image is saved automatically after selection. To remove the logo, use the remove option in the same area. The workspace then displays an auto-generated initial-based avatar instead.
Danger Zone
The bottom of the Team Profile page contains a section for irreversible actions. This section is only visible to users with billing management permissions (owners).
Deleting the Team
The primary owner can permanently delete the team workspace. This removes all workspace data — Briefs, projects, conversations, members, and settings — and cannot be undone.
To delete the team:
- Open the Danger Zone section on the Team Profile page.
- Select Delete team.
- Complete the identity verification step — you will be sent a one-time code to the email address on your account.
- Enter the code and confirm the deletion.
If team deletion is disabled on your Plan or by your organization's configuration, the delete button appears but is not active.
Leaving the Team
Members who are not the primary owner see a Leave team option instead of the delete option. Leaving removes you from the team immediately.
To leave:
- Open the Danger Zone section.
- Select Leave team.
- Type
LEAVEin the confirmation field. - Confirm.
The primary owner cannot leave the team. They must transfer ownership to another owner first before they can leave. See Roles and Permissions for how to transfer ownership.
Key Capabilities
- Name editing: Update your team name at any time without losing any data or disrupting members.
- Logo management: Upload a custom logo or remove it to return to the default avatar.
- Deletion with verification: Team deletion requires a one-time verification code, preventing accidental or unauthorized removal.
- Access control: Only owners can access and modify the team profile settings.
Tips
- Renaming the team changes the display name but does not change the workspace URL slug. The URL slug is set when the team is created and is not editable after that.
- Team logos should be recognizable at small sizes since they are displayed as thumbnails in the sidebar.
- If the delete option is greyed out, check whether your Plan includes team deletion. Contact support if you need to delete a workspace and the option is unavailable.